August Bank Holiday BBQ: A Plan for the Long Weekend
The August bank holiday falls on Monday 31 August this year, and for most British households it is the last

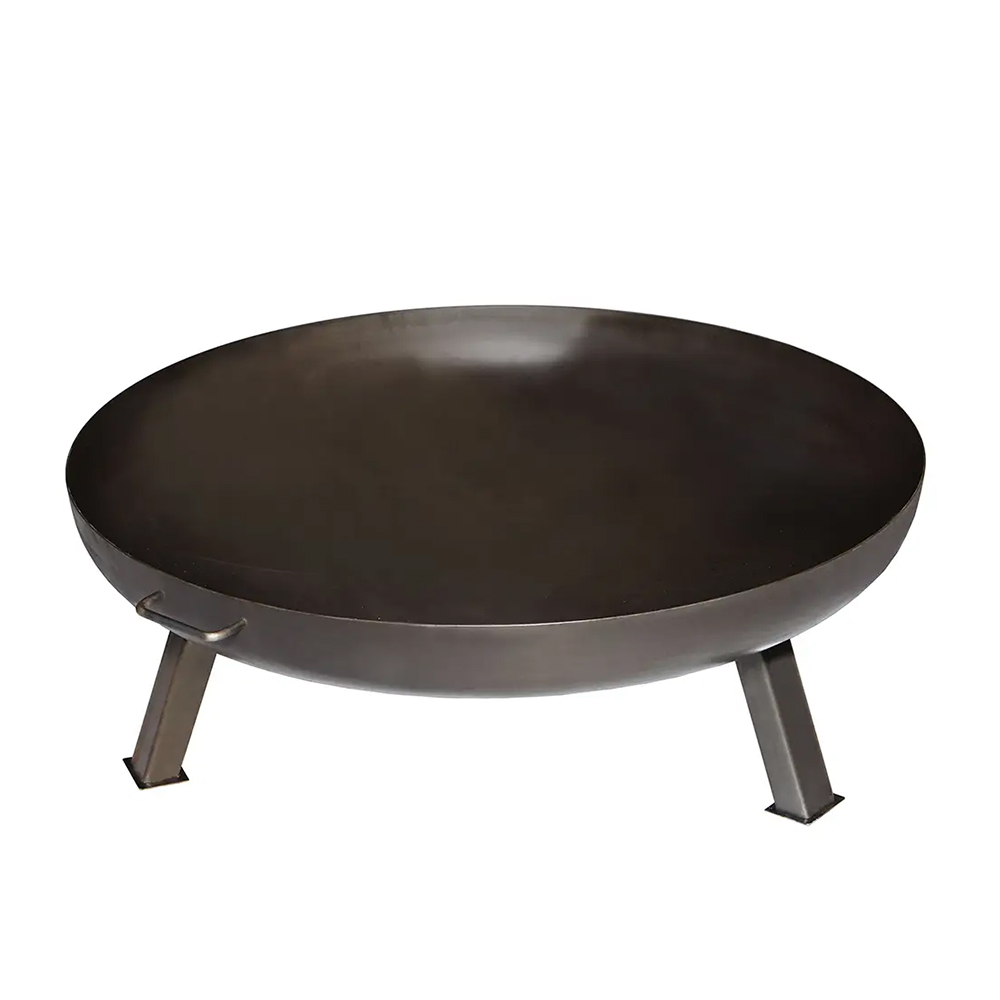
Most fire pits are bought for warmth and then, at some point, someone puts a sausage over them. That is usually where fire pit cooking starts and, for a lot of people, where it stops, because open flame is unforgiving and the first attempt tends to produce something black outside and cold inside.
It does not have to go that way. Cooking over a fire pit is genuinely rewarding once you stop treating it like a barbecue with the lid off. The technique is different, the equipment matters more than it does on a gas grill, and the results are better than either. Here is how the various cooking surfaces actually behave and what to use them for.
The single biggest adjustment is accepting that there is no dial. On a gas barbecue you set a temperature and the appliance holds it. On a fire pit you build a fuel bed and then work with what it gives you, which changes continuously over the course of an evening.
That sounds harder and it is, slightly, but it is also more predictable than beginners expect. Wood burns through a reliable sequence: flames while it is off-gassing, then a settling period, then a long stable phase of glowing embers. The flame phase is nearly useless for cooking. The ember phase is where almost everything good happens.
The practical consequence is timing. A fire pit needs lighting forty-five minutes to an hour before you want to cook, not fifteen. Rushing it means cooking over flame, and cooking over flame means soot, flare-ups and food that tastes of smoke rather than of fire.
Use seasoned hardwood. Oak, ash, beech and birch all burn hot and clean and produce a solid ember bed. Softwoods light easily but burn fast, spit, and leave very little to cook over, so they are useful for getting started and not much else.
Build the fire toward one side of the bowl rather than the centre. This is the most useful habit in fire pit cooking, because it gives you a hot zone directly over the embers and a cooler zone beside it. On a round bowl that is the only way to create heat zones at all, and without them you have one temperature and no way to rescue anything.
Let the flames die down before food goes on. You want an even bed of embers with a light grey ash coating, glowing rather than flaming. If you can hold a hand at cooking height for two or three seconds, that is roughly a hot searing zone. Five or six seconds is a moderate zone suitable for cooking things through.
A cooking grate over the bowl is the obvious first step, and for a certain kind of food it is exactly right. The Buschbeck Heavy Duty Cooking Grill at £99.99 fits both the 60cm and 80cm bowls, and the Barbecook Stainless Steel Cooking Grill 75cm at £119 does the same for the Jack 75.
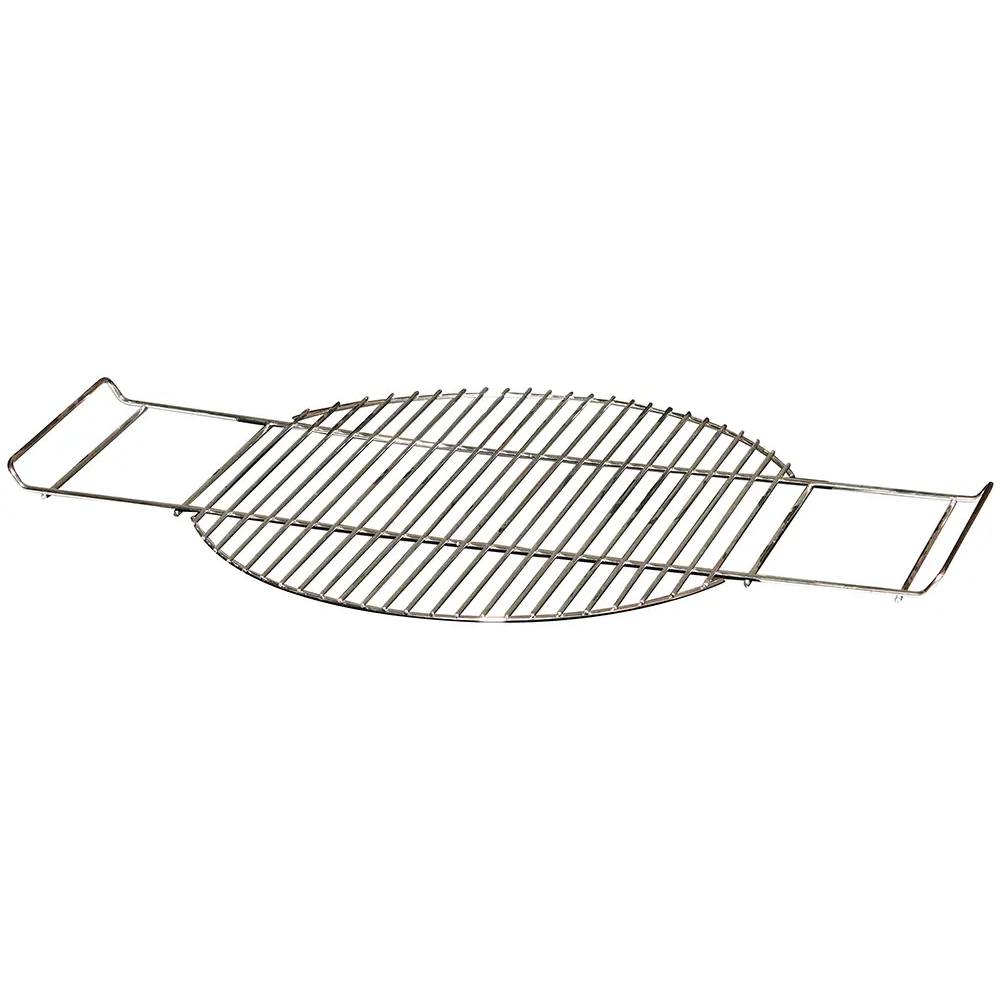
Bars suit anything with structure that benefits from direct contact and a bit of char. Chops, steaks, chicken pieces, whole spring onions, halved peppers, corn and firm sausages all work well. The gaps let fat drip into the fire, which produces the aromatic flare that gives fire-cooked food its character.
The limitations are the gaps themselves. Anything small, soft, flaky or liquid is lost. Prawns, eggs, sliced onions, flatbreads, delicate fish and most vegetables cut smaller than a wedge will either fall through or stick and tear. That is a substantial part of what you might actually want to cook.
The other issue is dripping fat. In moderation it is flavour. From a fatty cut over a hot bed it is a grease fire, and the fastest fix is moving the food to the cool side rather than trying to put out the flare.
A plancha ring sits around the rim of the bowl and gives you a solid steel cooking surface with the fire below and inside it. The Buschbeck Plancha Cooking Ring for 80cm fire pits at £169.99 and the 60cm version at £129.99 both work this way, as does the Barbecook Half Plancha for the Jack 75 at £139, which covers half the rim and leaves the other half open for grilling.
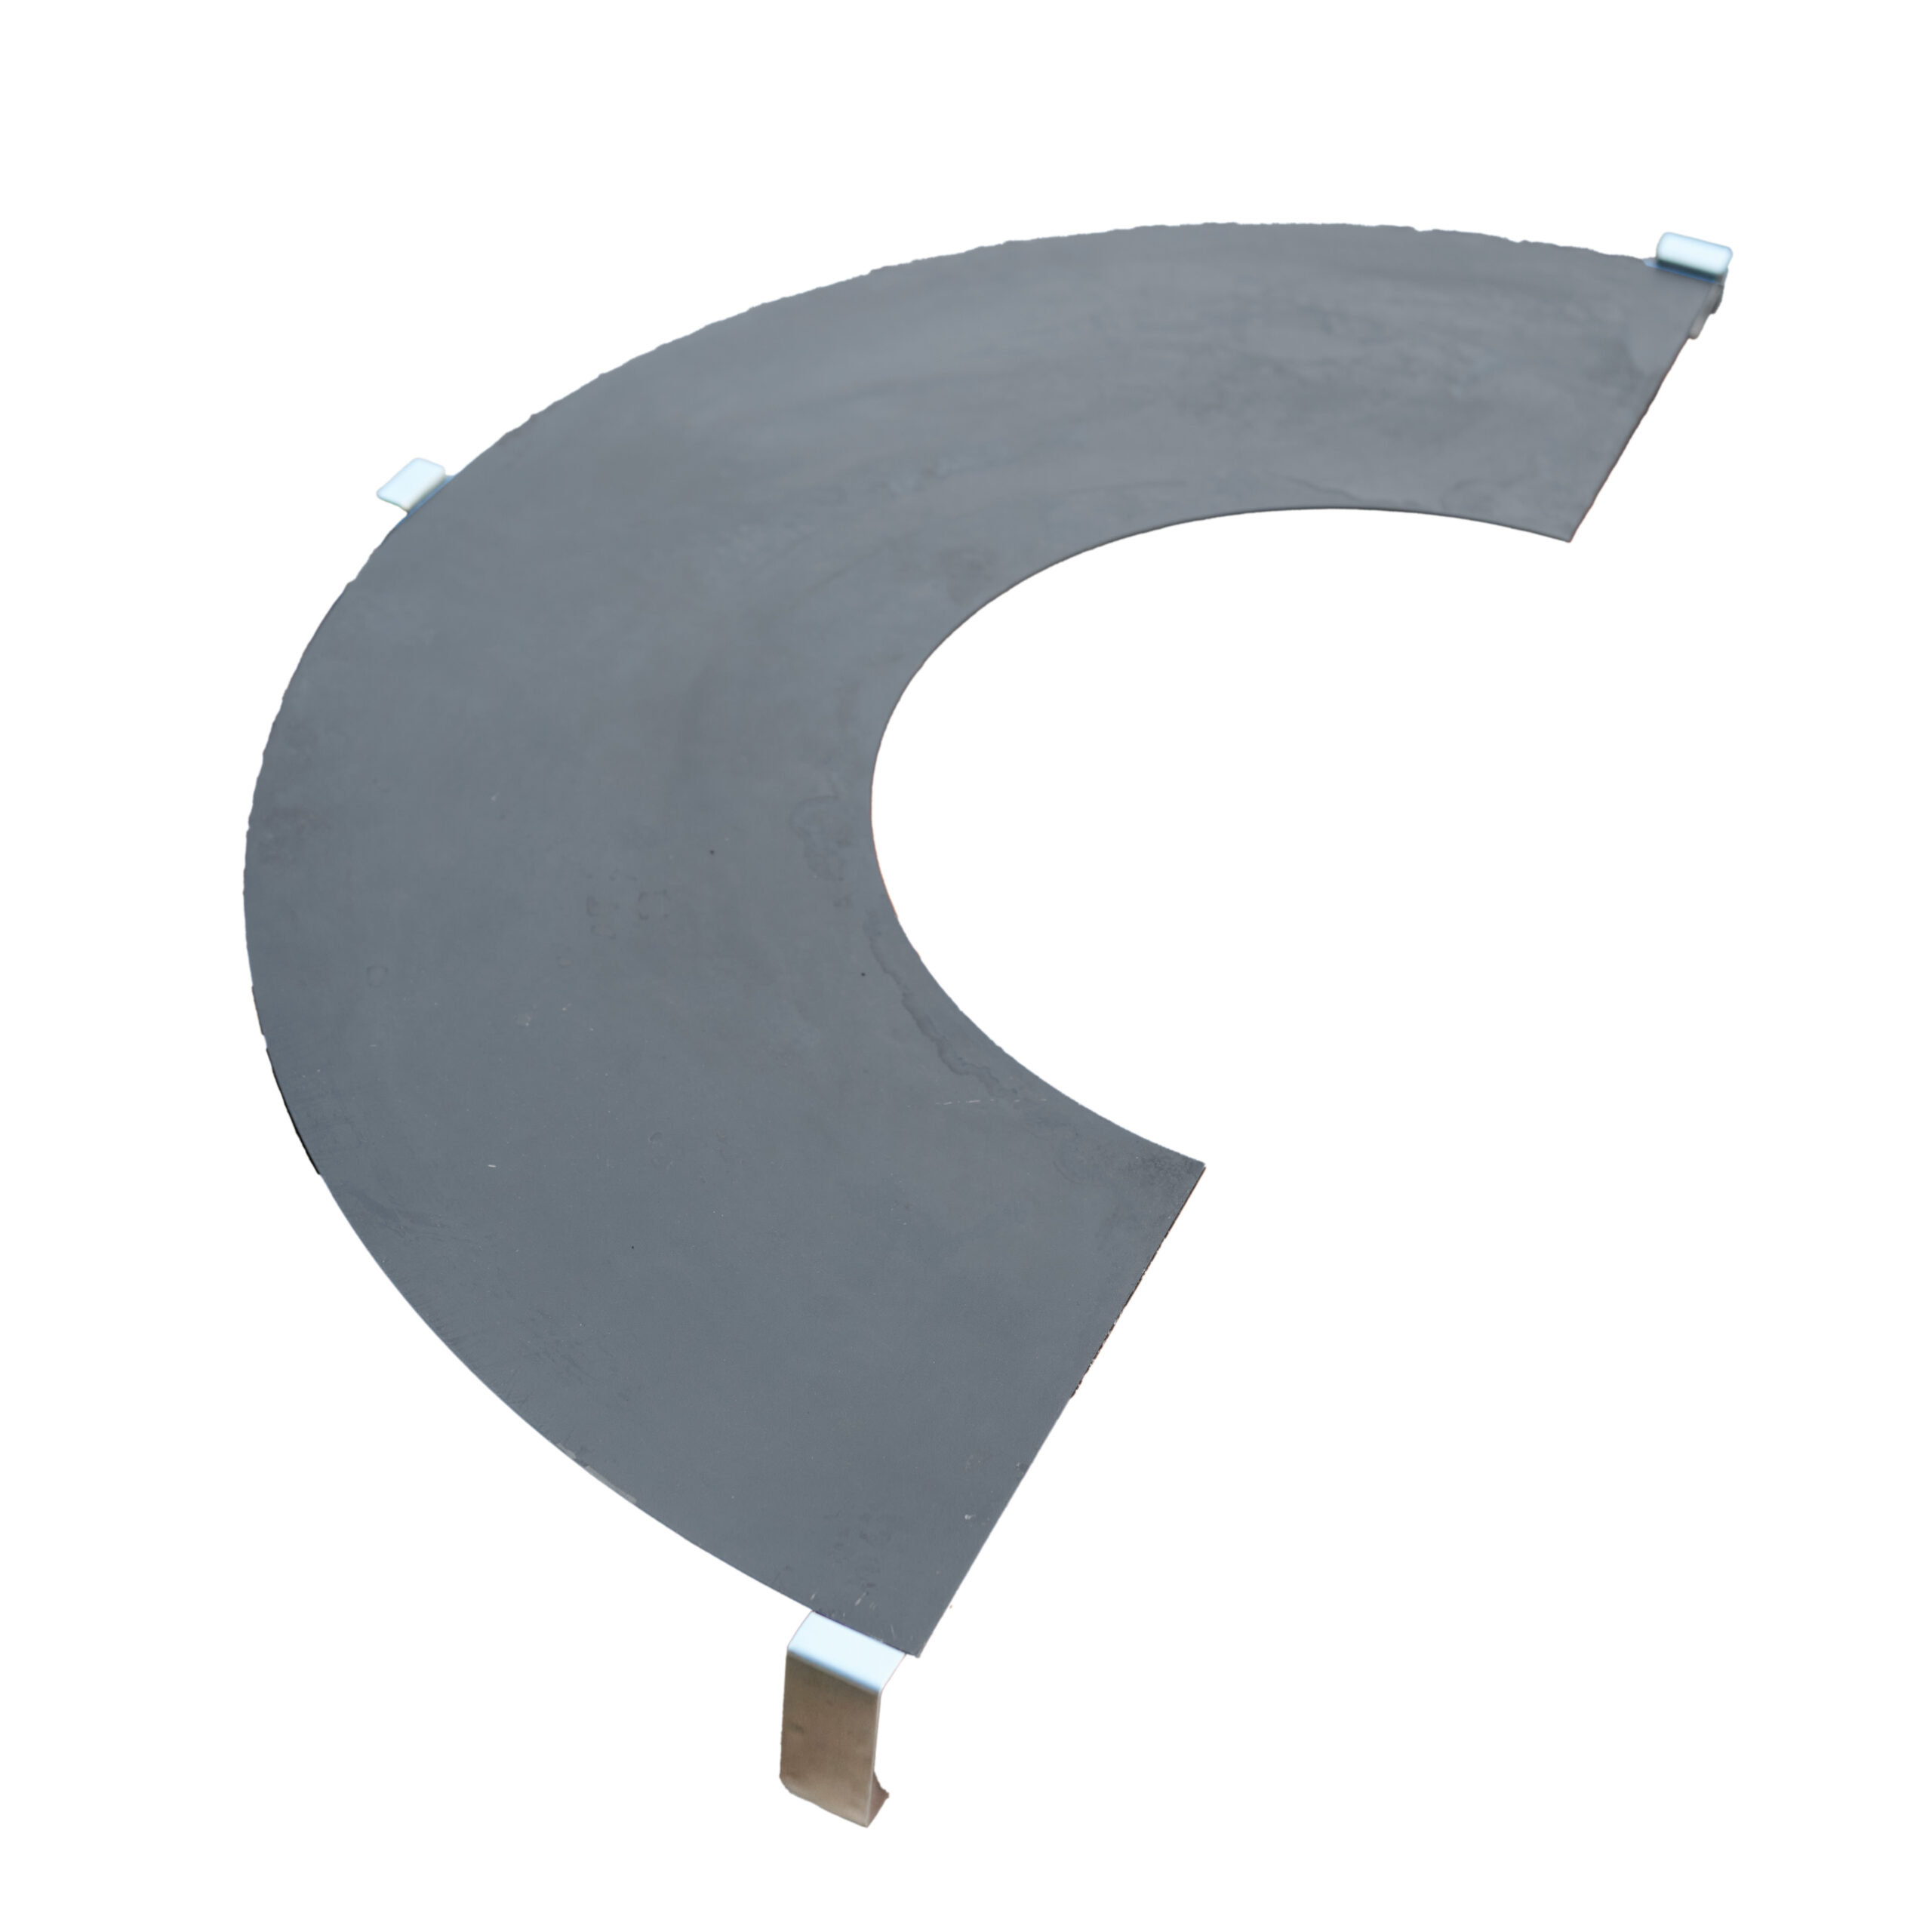
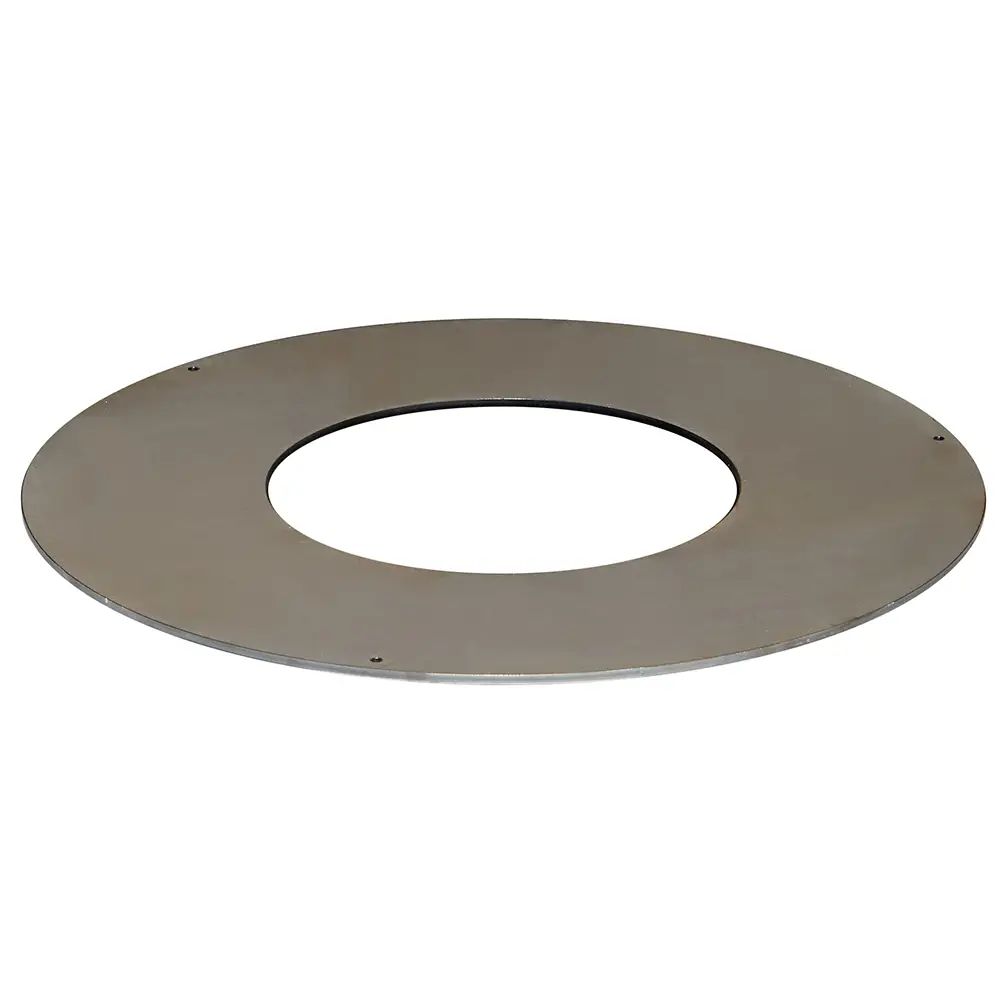
Two things make this format better for most people. The first is that a solid surface cooks everything the bars cannot: eggs, prawns, scallops, sliced vegetables, mushrooms, flatbreads, halloumi and anything you want to move around in its own juices. The second is the built-in heat gradient. The inner edge, closest to the fire, runs hot enough to sear. The outer edge runs considerably cooler. That gives you a searing zone and a holding zone on the same surface, without moving anything off the heat.
There is a social advantage too, and it is the reason planchas suit fire pits so well. A ring surface means four or five people can cook at once, standing around the fire, rather than one person working while everyone else waits. On a cool evening that keeps the group where the warmth is.
The trade-off is that you lose the direct flame contact and the fat drip, so you get less of the charred, smoky character that bars produce. A half plancha is the sensible compromise for anyone who wants both.
Whatever surface you use, the method is the same: sear hot, then move to finish.
Put food on over the embers to develop colour, then move it outward to the cooler zone to cook through. Anything thicker than about two centimetres will burn before its centre is done if you leave it over the hottest part, and that single mistake accounts for most disappointing fire-cooked meat.
Keep a small reserve of fuel to one side. Adding a log to a working ember bed drops the surface temperature and reintroduces flame for several minutes, so feed the fire ahead of when you need the heat rather than in the middle of cooking something.
A thermometer is more useful here than on a gas barbecue, not less, precisely because you cannot read the heat from a dial. Judging doneness by eye over a live fire is difficult even for experienced cooks.
Fire pit cooking rewards robust ingredients. Lamb, pork shoulder, chicken thighs, oily fish, whole vegetables, flatbreads and anything skewered all do well. Skewers in particular suit a round fire, because they can be laid across the rim and turned easily, and a set such as the Martinsen skewers at £10.99 costs almost nothing.
It punishes precision. Thin fish fillets, delicate cuts that need exact internal temperatures and anything requiring a stable moderate heat for forty minutes are all better on a barbecue with a lid. Fire pits are not smokers and they are not ovens, and asking them to behave like either is where frustration comes from.
Everything is hot, including the parts that do not look it. A plancha ring stays dangerous long after the fire has died, and steel gives no visual warning. Long tools and proper heat-resistant gloves are not optional.
If children are around while you are cooking, a spark screen between courses is sensible. The Barbecook Steel Spark Screen 75cm at £129 lifts off for cooking and goes back on afterwards.
Clean the surface while it is still warm. A plancha scrapes clean easily at temperature and becomes a considerably worse job cold. Cast iron surfaces such as the Buschbeck Cast Iron Plancha at £99.99 want a light oiling afterwards to keep them seasoned.
There is no need to buy everything at once. A grate is the cheapest way to find out whether you enjoy cooking over fire. A plancha ring is the upgrade that turns the fire pit into something you use for meals rather than occasional sausages. A half plancha gives you both.
If you are starting from nothing, the practical order is fire pit, then grate, then plancha, adding each as you find the limits of the last. You can see the full range of fire pits and cooking accessories online, and we are happy to advise on what fits which bowl on 02476 474440.
The August bank holiday falls on Monday 31 August this year, and for most British households it is the last
The oven is the part with a price tag on it, and it is regularly the smaller half of what