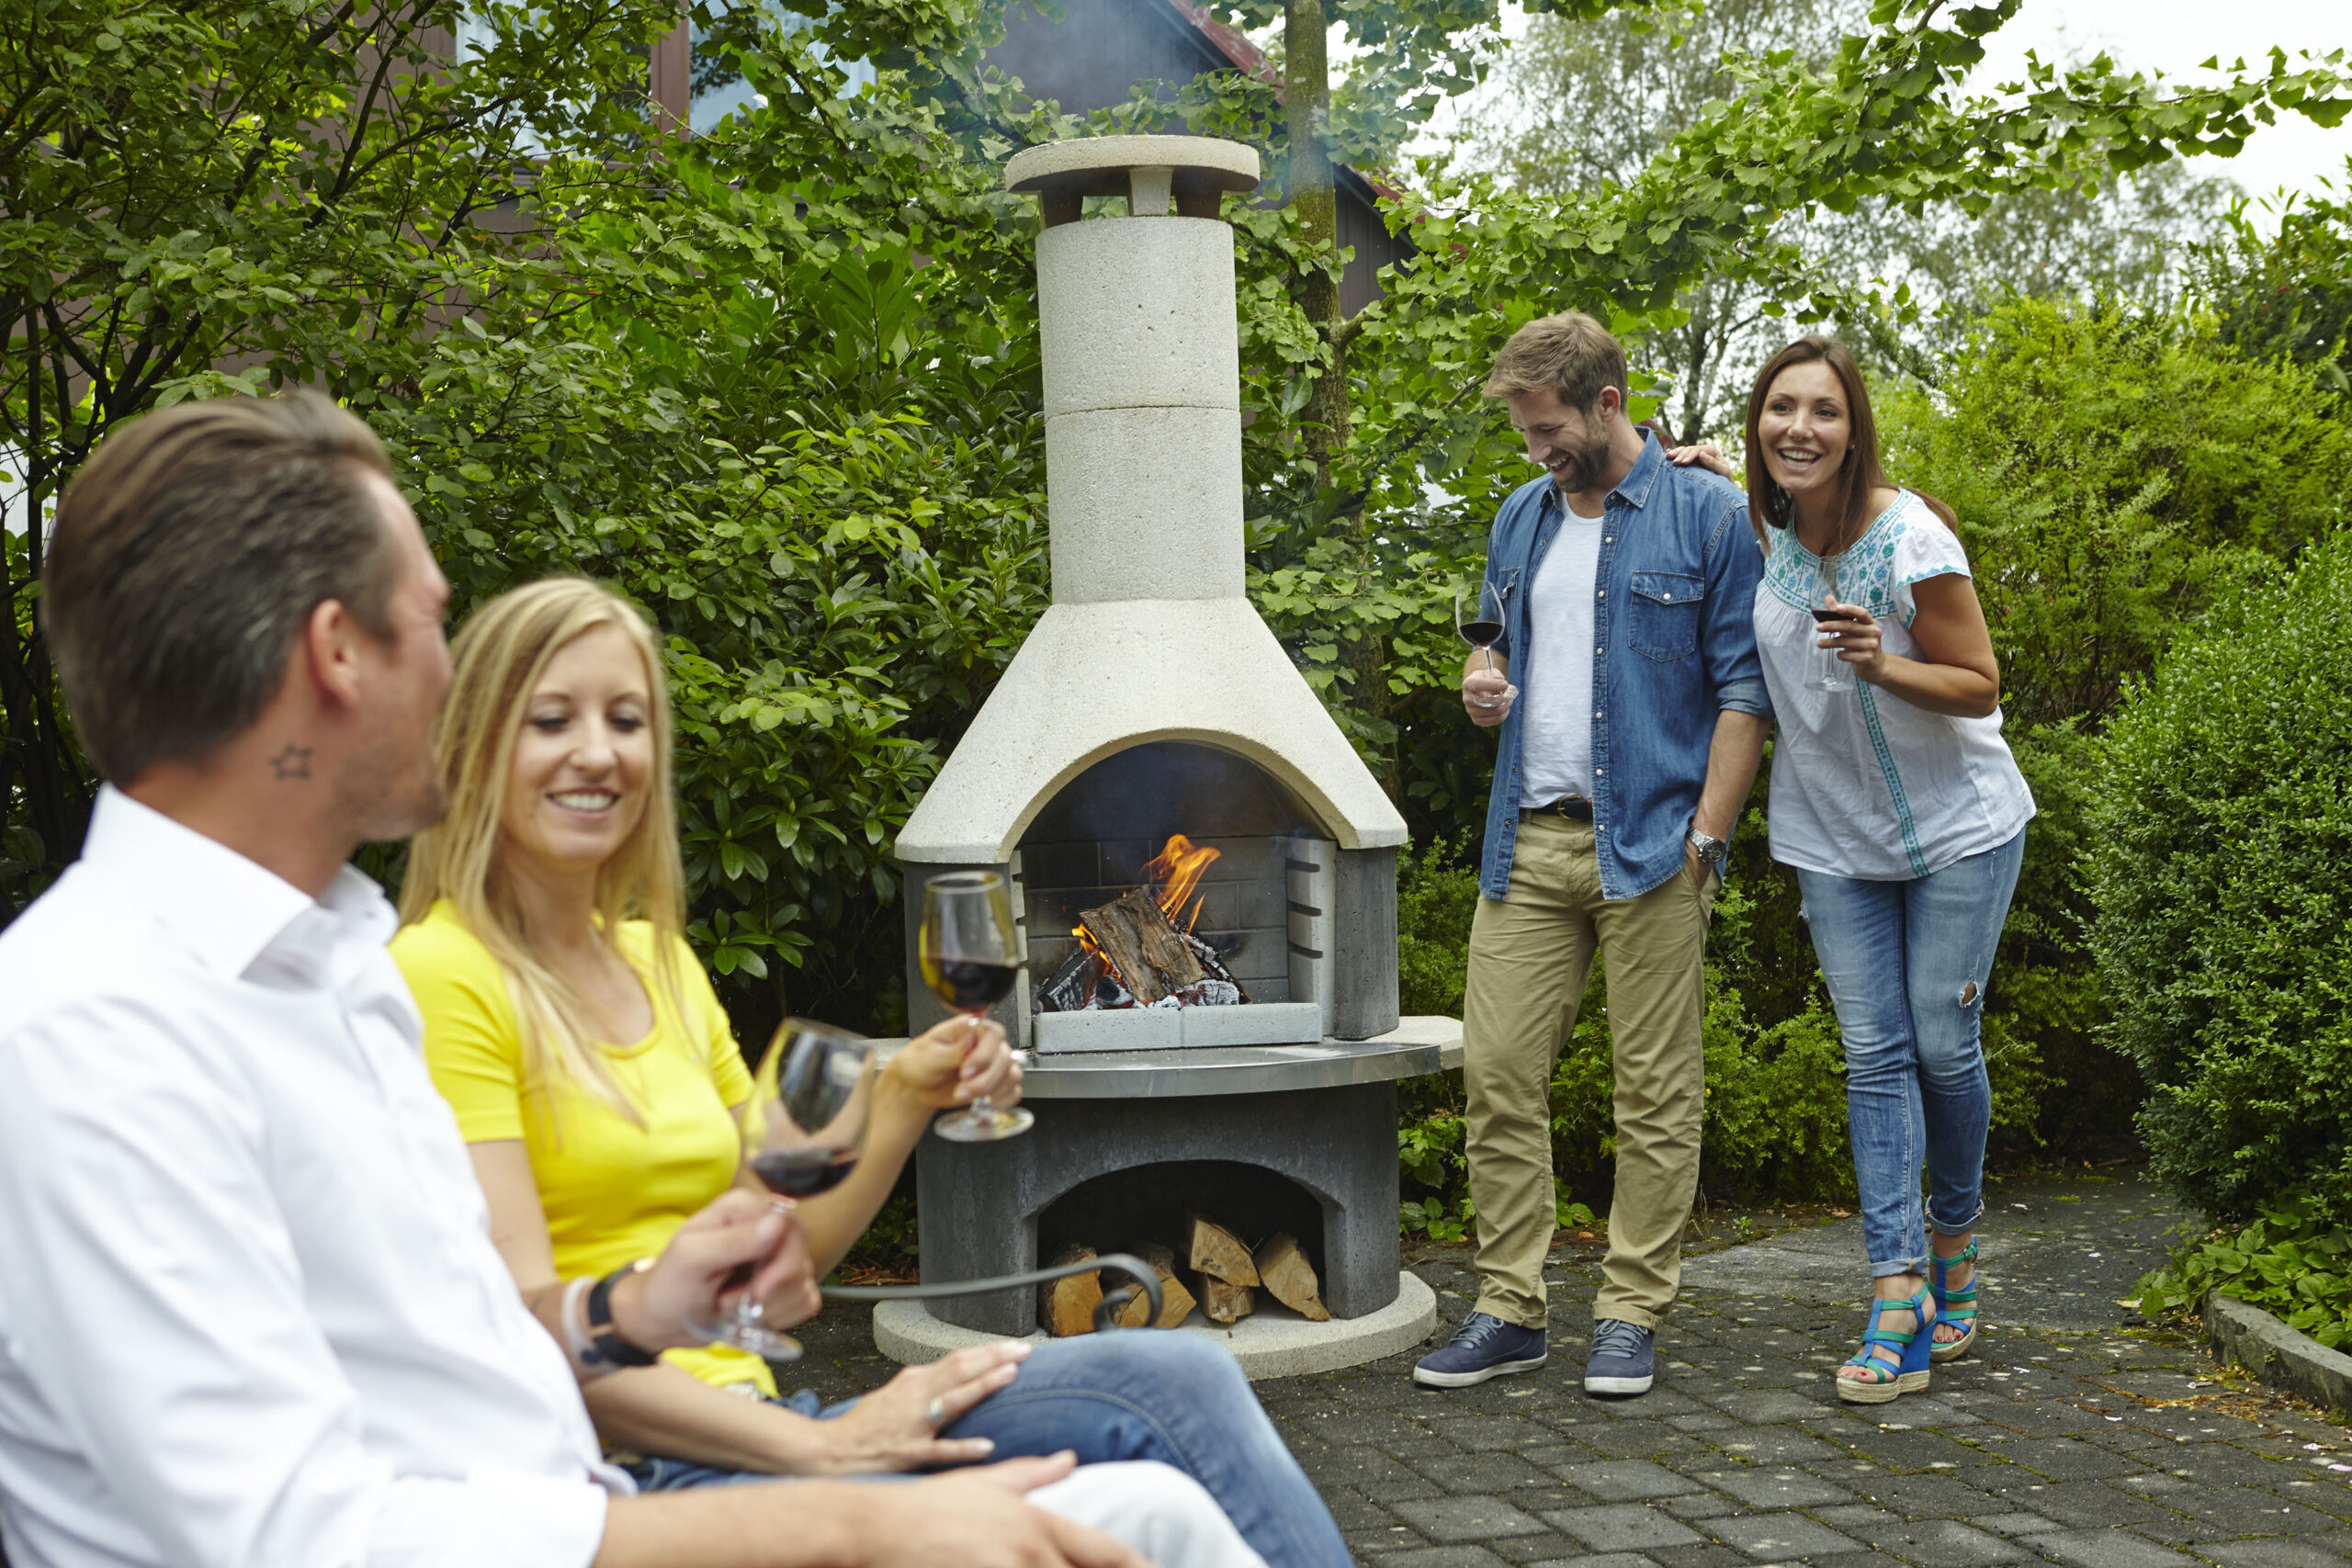
How to Choose the Best Masonry Barbecue
Find the best masonry barbecue for garden spaces with expert advice on size, fuel, materials and layout for stylish outdoor cooking.
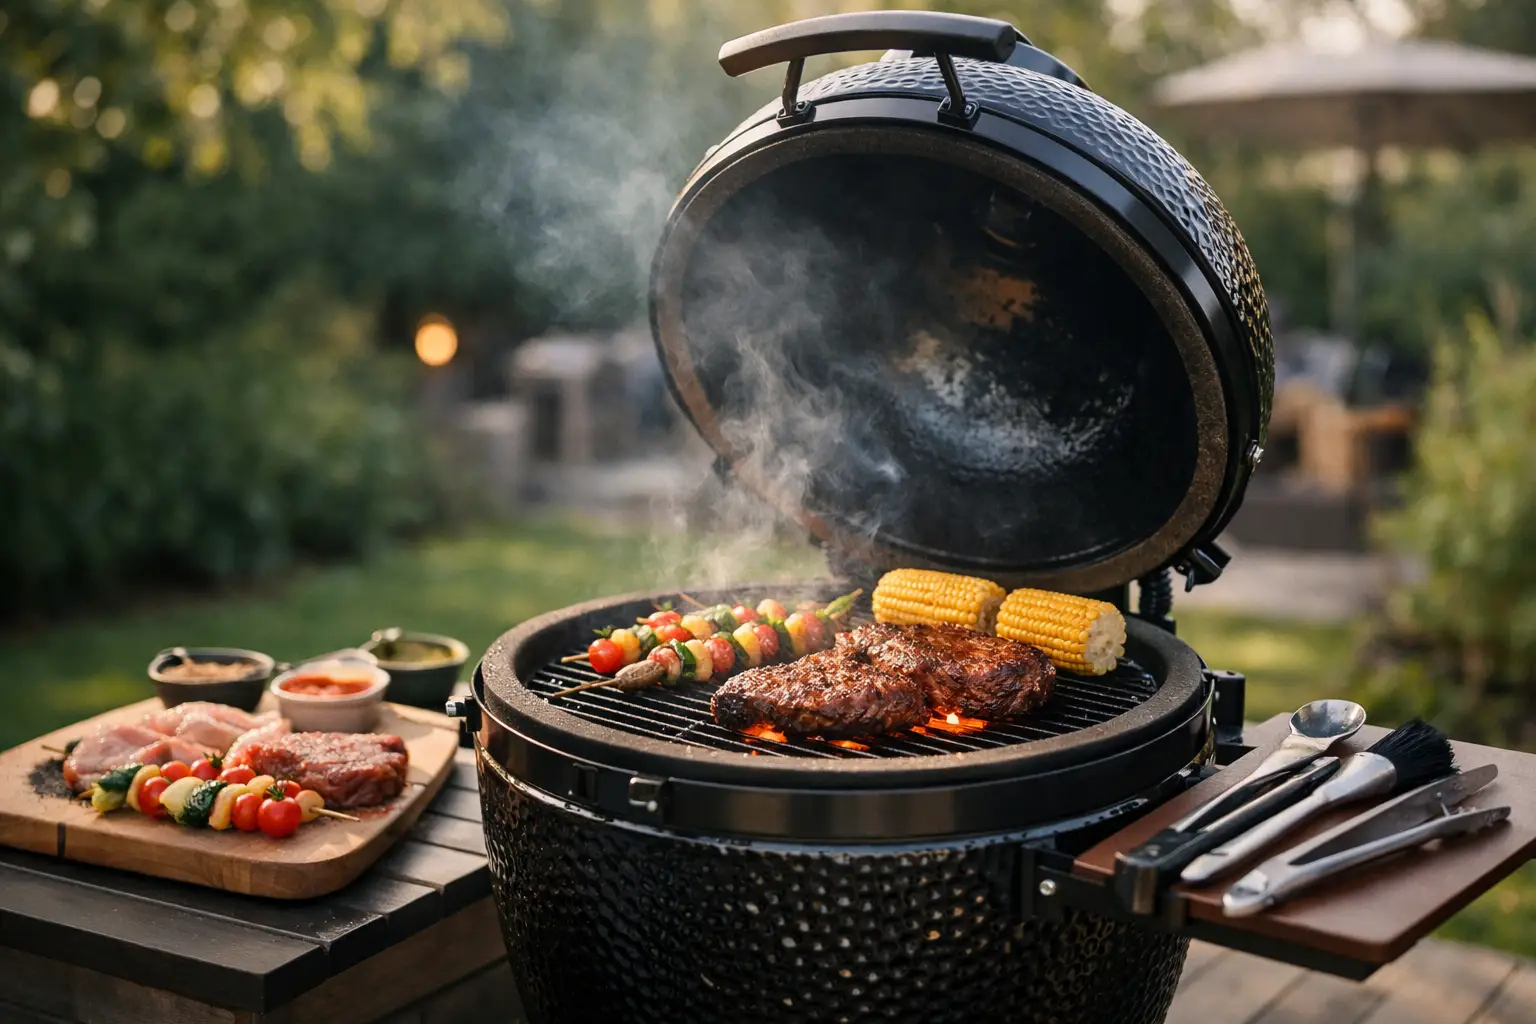
A kamado has a way of changing expectations quickly. One weekend you are grilling a few burgers, the next you are roasting a whole chicken, baking flatbreads and talking confidently about airflow and lumpwood charcoal. That is exactly why kamado barbecue for beginners can feel both exciting and slightly daunting – these ceramic cookers are brilliantly versatile, but they reward a bit of understanding at the start.
The good news is that a kamado is not difficult to use once the basics click into place. In fact, many people find that after a few cooks it becomes the most dependable piece of outdoor cooking equipment they own. If you are investing in a premium garden set-up and want something that can grill, roast, smoke and bake with real control, a kamado is a very smart place to start.
At first glance, a kamado can look more specialist than a standard charcoal barbecue. It is heavier, better insulated and built with a more serious feel. That can make beginners assume it is only for seasoned barbecue enthusiasts. In practice, the opposite is often true.
Because a kamado is designed to hold heat so efficiently, it is easier to maintain steady temperatures once you learn the vents. You use less fuel, cooking times are more predictable and the lid helps lock in moisture. That means forgiving results on foods that often dry out on open grills, such as chicken, pork loin and even fish.
There is a trade-off, though. A kamado is less about fast, throw-it-on cooking and more about deliberate control. If you want instant heat every time, petrol may feel simpler. If you enjoy the flavour and theatre of charcoal and want one cooker that can handle a relaxed family roast as well as a long smoked brisket, a kamado offers far more range.
The key idea is airflow. A kamado controls temperature through the amount of oxygen reaching the charcoal. The bottom vent draws air in, the top vent lets smoke and heat out, and together they regulate the fire.
Open the vents wide and the charcoal burns hotter. Restrict them and the temperature settles lower for slower cooking. The ceramic body then does much of the hard work, retaining heat and creating a stable cooking environment that feels closer to an outdoor oven than a basic barbecue.
This is why small vent adjustments matter. New users often expect dramatic changes straight away, then overcorrect. With a kamado, patience pays. Make a small adjustment, give it several minutes, then reassess. Once the cooker is heat-soaked, it tends to stay impressively consistent.
Size matters more than many beginners realise. A compact model can be excellent for couples or smaller patios, but if you regularly entertain or want to cook indirect dishes alongside direct grilling, extra grill space makes life easier. A larger kamado also gives you more flexibility for rib racks, pizza stones and heat deflectors.
Accessories are equally important. For most first-time owners, a heat deflector is essential rather than optional because it unlocks indirect cooking. Without it, you are largely limited to direct heat over the coals. A good thermometer, quality lumpwood charcoal and a sturdy stand or trolley are also worth factoring into the budget from day one.
Premium build quality is not just a luxury here. Better seals, stronger metal components and well-made internal parts improve temperature control and longevity. When you are building an outdoor entertaining space around products that are meant to last, it makes sense to choose a kamado that feels engineered for regular use rather than occasional novelty.
Use lumpwood charcoal, not briquettes loaded with fillers. Good lumpwood burns cleaner, responds better to airflow changes and suits the kamado’s style of cooking. Cheap fuel creates more ash, less control and often a less pleasant flavour.
You do not need to fill the firebox for every cook. That is a common beginner mistake. For quick grilling, a modest amount of charcoal is usually enough. For low and slow cooking, fill more generously and light only a small section so the fire spreads gradually.
Wood chunks can be added for smoke flavour, but restraint helps. In a sealed ceramic cooker, smoke concentration builds more than it does on open grills. A couple of chunks of oak, apple or hickory often goes further than expected.
Avoid lighter fluid. It affects flavour and works against the cleaner, controlled cooking a kamado is built for. Natural firelighters or an electric charcoal starter are far better options.
Light the charcoal in one or two spots for lower temperature cooks, or in several places if you want the kamado to come up to grilling heat faster. Keep the lid open briefly while the fire establishes, then close it and begin managing the vents before the temperature races too high.
That last point is where many first cooks go wrong. It is much easier to bring a kamado up gently than to cool one down after it overshoots. Ceramic holds heat exceptionally well, so chasing the thermometer can become frustrating if you let the fire get ahead of you.
A kamado can do an enormous amount, but beginners get better results by building confidence in stages. Start with foods that teach you how the cooker behaves.
Bone-in chicken thighs are ideal because they are affordable, flavourful and forgiving. You can cook them indirectly at a moderate temperature and finish them over direct heat to crisp the skin. Sausages, burgers and skewers also help you learn fire management without committing to a long session.
Once you are comfortable, try a whole chicken or a rolled pork joint. These cooks show off one of the kamado’s biggest strengths – even roasting with excellent moisture retention. You will quickly understand why so many outdoor cooks move beyond standard grilling once they own one.
Pizza is also possible, but it is better as a second or third step rather than your first attempt. High-heat cooking on a kamado is fantastic, though it benefits from understanding heat soak, stone placement and airflow first.
Direct cooking means food sits over the heat source, much like a traditional grill. This suits steaks, burgers, halloumi, prawns and vegetables that benefit from colour and speed.
Indirect cooking uses a heat deflector to block direct radiant heat from the coals. The kamado then behaves more like an oven, circulating heat around the food. This is the setting for roasting chickens, smoking ribs, baking bread or cooking larger joints.
Most beginners end up using indirect heat more often than expected. It offers greater control and opens up the style of outdoor cooking that feels genuinely impressive when entertaining guests.
There is no single vent setting that works for every model, weather condition or fuel type, so treat any fixed advice with caution. Wind, ambient temperature and charcoal quality all affect performance.
A better approach is to learn temperature bands. Low and slow cooking sits roughly around 110 to 130C, roasting tends to live around 160 to 200C, and pizza or searing moves much higher. Begin closing the vents as you approach your target rather than after you pass it.
If the kamado is running a little cooler than planned, do not panic. Slightly longer cooking is usually easier to manage than a cooker that is too hot. If it is running too warm, reduce airflow in small increments and give it time. Fast reactions usually create slower recovery.
Kamados are relatively low maintenance, but not no-maintenance. Ash needs clearing so airflow is not restricted, and cooking grates should be brushed while still warm. Occasional high-heat burns can help clean the interior naturally.
Protecting the cooker with a quality cover makes sense in the British climate, particularly if your garden is exposed. Ceramic is durable, but metal fittings, side shelves and carts all benefit from sensible care. If your kamado is becoming part of a wider outdoor kitchen or entertaining area, that attention to detail keeps everything looking as premium as it should.
If you want the cheapest route into charcoal cooking, probably not. A kamado is an investment, and accessories, fuel and stand options all shape the final spend. But if you are looking for a serious step up in flavour, versatility and year-round outdoor cooking, it is one of the most rewarding choices you can make.
For UK homeowners who want their garden to work harder for family meals, weekends with friends and more ambitious outdoor entertaining, a kamado offers far more than novelty. It becomes a centrepiece – part barbecue, part oven, part smoker – and it grows with your confidence. That is why so many first-time buyers who begin cautiously soon find themselves planning bigger cooks, better menus and longer evenings outside.
If you choose well, use good fuel and give yourself a few cooks to learn the airflow, a kamado stops feeling technical very quickly. It simply starts feeling like the cooker you wish you had bought sooner.
Find the best masonry barbecue for garden spaces with expert advice on size, fuel, materials and layout for stylish outdoor cooking.
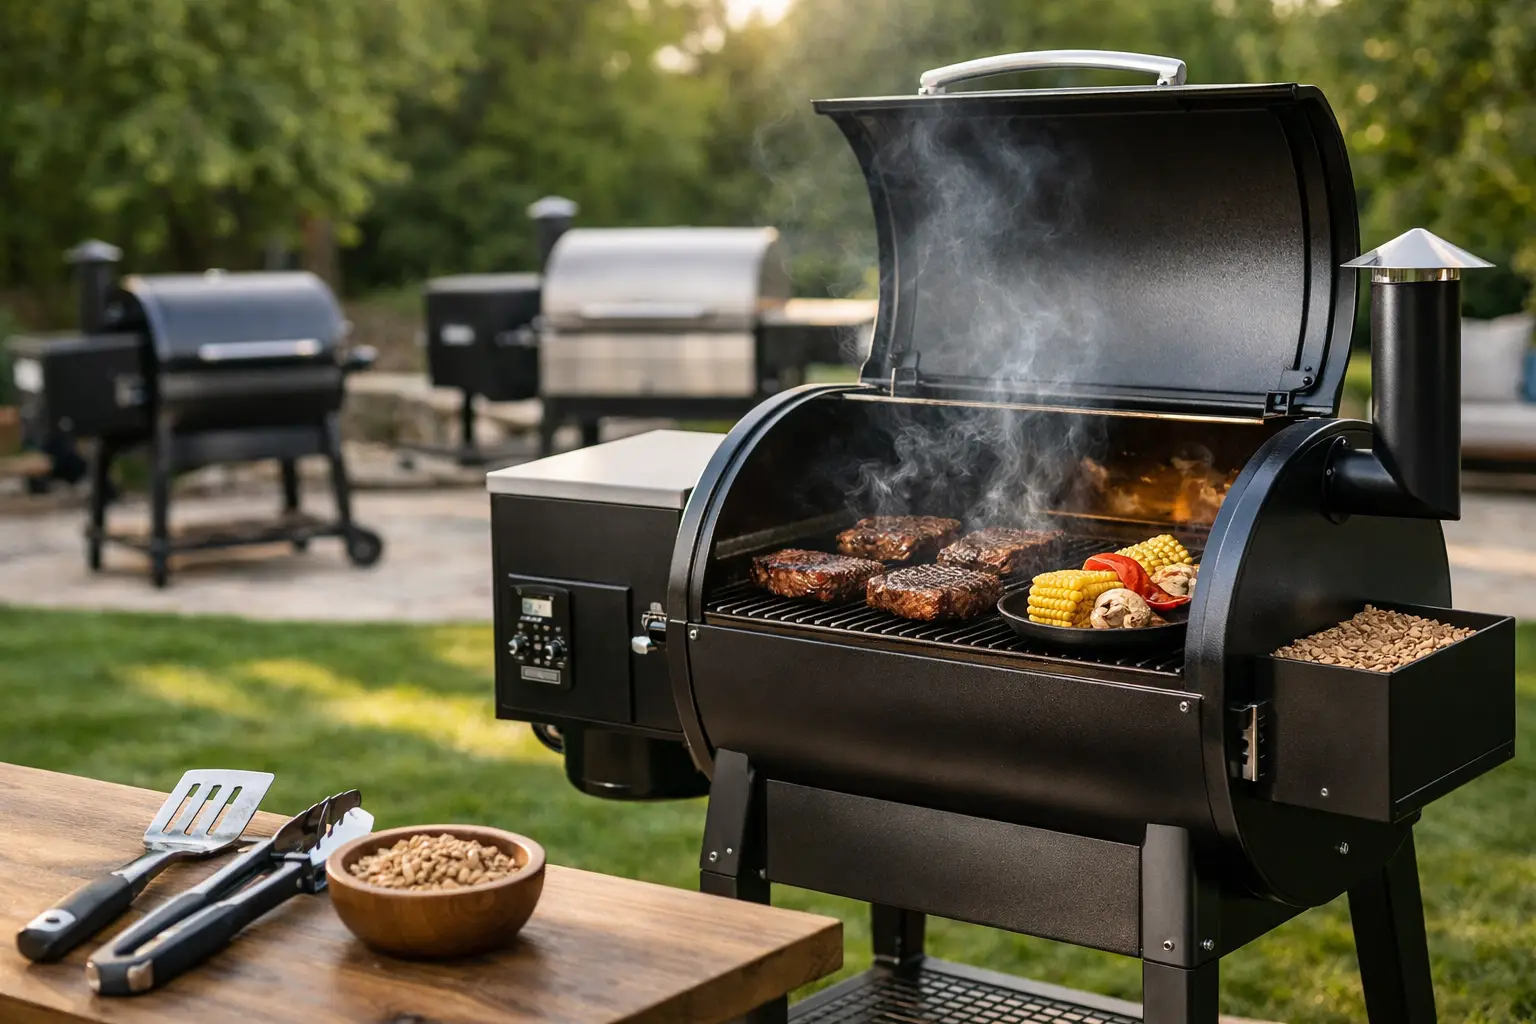
Learn how to choose a pellet grill with expert advice on size, features, build quality and budget for better outdoor cooking at home.